What is micro-excavation? It isn’t digging a tiny ditch or a petite pit... it’s how we gradually remove dirt and soil from inside complete pots during post-excavation.
We’re currently micro-excavating several pots from National Highways A428 Black Cat to Caxton Gibbet improvement scheme. This is painstaking work, so read on to find out how we do it and what these pots can tell us about everyday life on the A428, thousands of years ago.
What's inside that pot
Just like excavating in the field, we’re removing the soil (fill) from the feature - in this case, a pottery vessel. We’re looking for anything which can tell us how it was used in the past.
Sometimes this can be obvious. For example, we know that amphora, which have a very distinctive shape, were used for storing and transporting liquids in the Roman period.

But even when we know how it was used, micro-excavation can reveal even more fascinating details.
If we have a type of pot we know was used for cooking or preparing food, the soil inside can be studied by our archaeobotanists (specialists who study plant remains) to find out which food. This tells us a lot about ancient diets and the sort of recipes Iron Age and Roman chefs were whipping up!
We can also use micro-excavation to slowly and carefully reveal the contents of funerary urns, ready for our osteologists (human bone experts) to analyse.
Step 1: Preparation is Key!
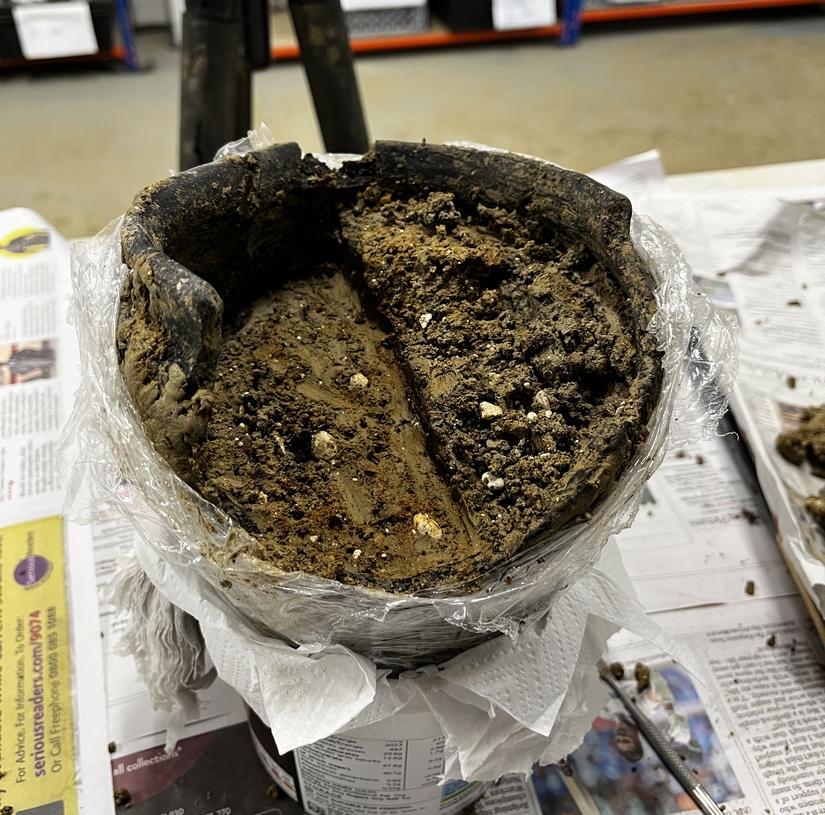
Before starting a micro-excavation, we carefully examine the pot. If it seems fragile (which they often are!), then we wrap the outside in clear film. This helps protect the pot and keep it in one piece while we are excavating.
On the outside of the wrap, we mark the layers of soil that we’re going to remove – these are called spits. The number of spits, and the size of the layers, depend on how tall, wide, short, or big the pot is.
Now the micro-excavation begins!

Step 2: Spit by Spit
Micro-excavation involves using lots of tiny tools! These help us to break up the soil slowly and carefully, without damaging the pot. We often use wooden tools because they aren’t as sharp as metal tools, so they won’t leave marks.
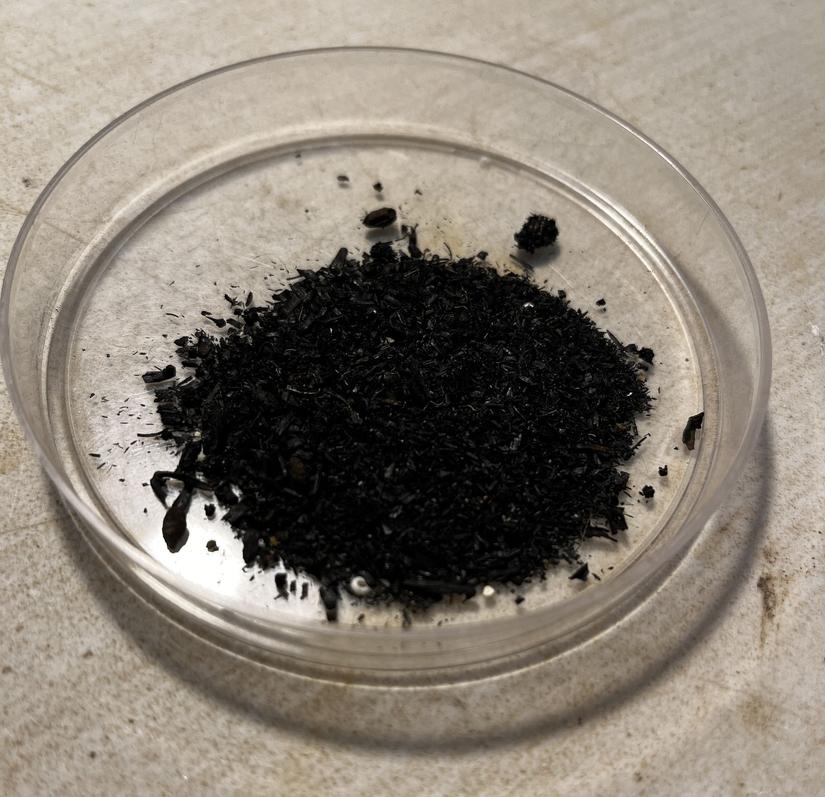
We keep all the soil that we excavate. This is what our experts examine to work out what was in the pot or how it was used!
We work through the spits (layers) until we reach the bottom of the vessel and have recovered all its contents. Each of the spits is kept separate for further analysis.
The contents of the pot are now given to our environmental processors, who prepare them with wet and dry sieving, just like we do with other environmental samples.
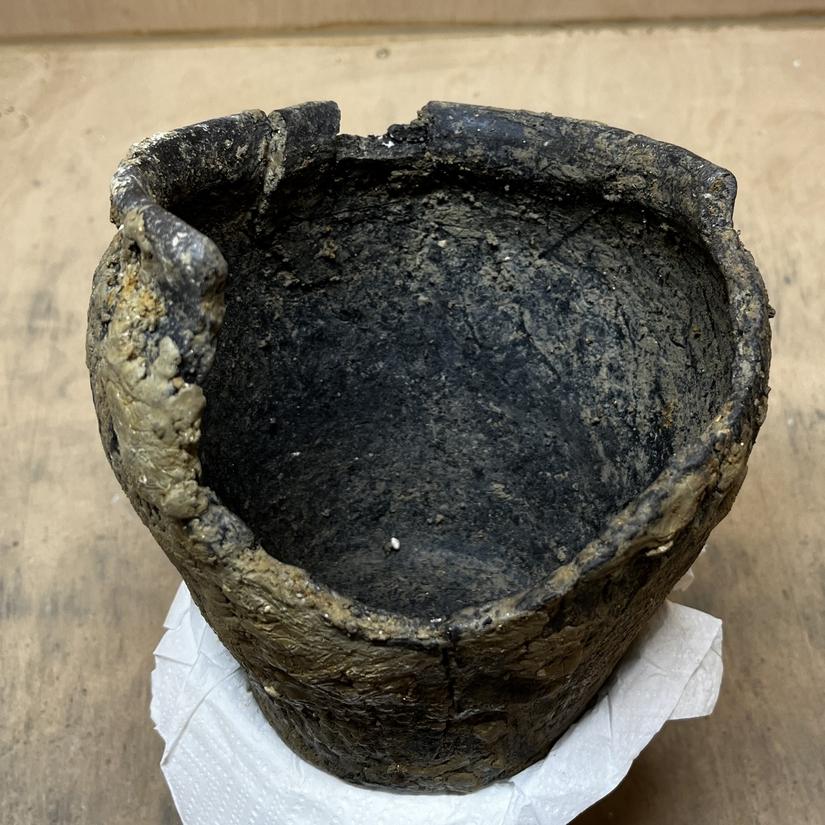
If the pot has been wrapped in film, this is the point where we take it off. Many of the pots we are micro-excavating from the A428 have been in the ground for 2000 years, and the soil packed inside can be the only thing keeping them together. However, we have an excellent conservation team who are on hand to support us.
Step 4: Cleaning Up
The final step is to clean the pot. This one was decorated around the outside, so we spent a lot of time making sure all the grooves of the pattern were cleaned.
We use sponges when cleaning complete pots like this and soft toothbrushes to remove stubborn mud. Using sponges and toothbrushes prevents too much pressure from being placed on the pot which could cause cracks.
After the pot has been left to dry for a few days, it is ready to be sent to specialists for analysis. But not before snapping a quick photo to show everyone our hard work!

By Grace Smithers, Post-Excavation Processor and Digital Engagement Assistant on the A428.
Follow along with our journey!
#A428BlackCat
Find out more about the A428 National Highways scheme
Excavations are being undertaken by archaeologists from MOLA, as part of the National Highways A428 Black Cat to Caxton Gibbet Improvement Scheme.


